OpenClip
OpenClip 是 OpenAI 的 CLIP 的一个开源实现。
这些多模态嵌入可以用于嵌入图像或文本。
%pip install --upgrade --quiet langchain-experimental
%pip install --upgrade --quiet pillow open_clip_torch torch matplotlib
我们可以列出可用的 CLIP 嵌入模型和检查点:
import open_clip
open_clip.list_pretrained()
下面,我测试了一个基于表格的更大但性能更好的模型 (这里):
model_name = "ViT-g-14"
checkpoint = "laion2b_s34b_b88k"
但是,你也可以选择一个更小、性能更低的模型:
model_name = "ViT-B-32"
checkpoint = "laion2b_s34b_b79k"
模型 model_name,checkpoint 在 langchain_experimental.open_clip.py 中设置。
对于文本,使用与其他嵌入模型相同的方法 embed_documents。
对于图像,使用 embed_image,只需传递图像的 URI 列表。
import numpy as np
from langchain_experimental.open_clip import OpenCLIPEmbeddings
from PIL import Image
# 图像 URI
uri_dog = "/Users/rlm/Desktop/test/dog.jpg"
uri_house = "/Users/rlm/Desktop/test/house.jpg"
# 嵌入图像或文本
clip_embd = OpenCLIPEmbeddings(model_name="ViT-g-14", checkpoint="laion2b_s34b_b88k")
img_feat_dog = clip_embd.embed_image([uri_dog])
img_feat_house = clip_embd.embed_image([uri_house])
text_feat_dog = clip_embd.embed_documents(["dog"])
text_feat_house = clip_embd.embed_documents(["house"])
检查
让我们重现 OpenClip Colab 中显示的结果 这里。
import os
from collections import OrderedDict
import IPython.display
import matplotlib.pyplot as plt
import skimage
%matplotlib inline
%config InlineBackend.figure_format = 'retina'
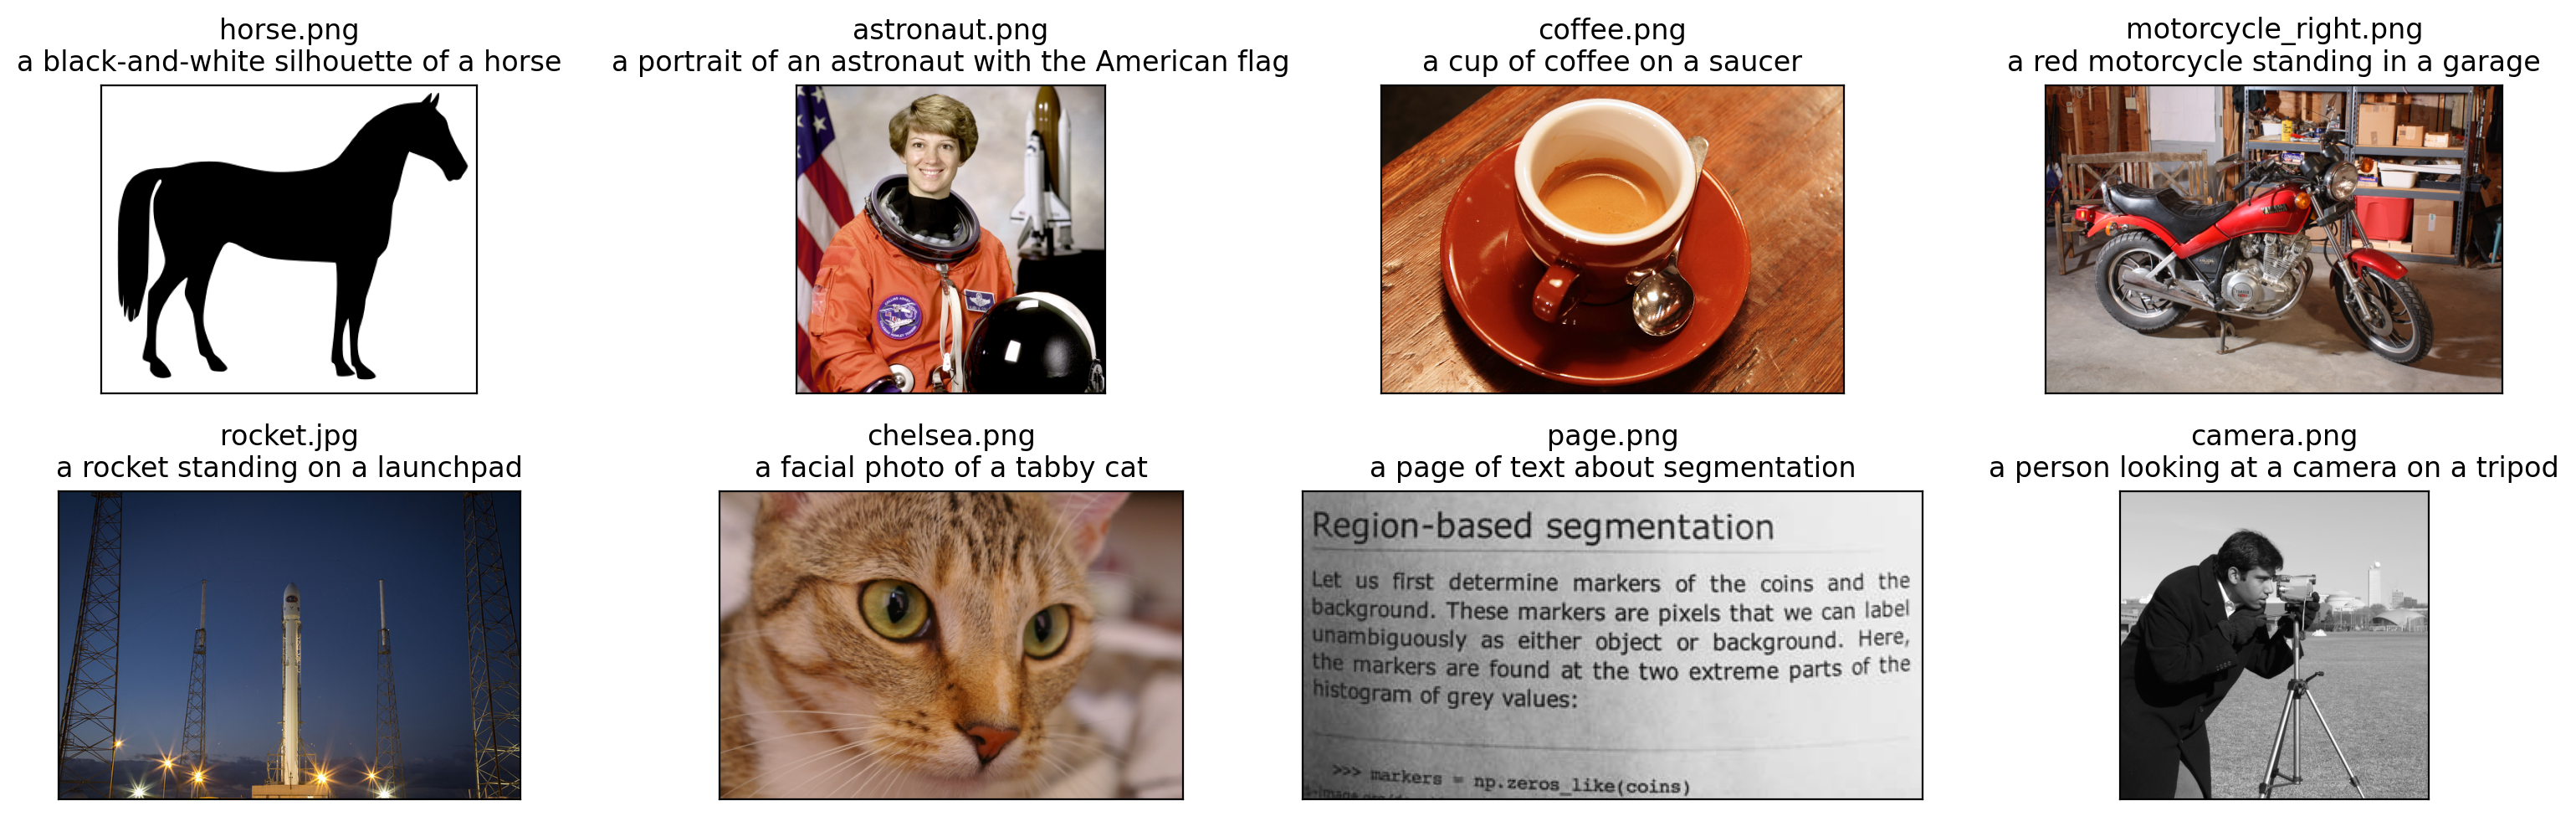
descriptions = {
"page": "a page of text about segmentation",
"chelsea": "a facial photo of a tabby cat",
"astronaut": "a portrait of an astronaut with the American flag",
"rocket": "a rocket standing on a launchpad",
"motorcycle_right": "a red motorcycle standing in a garage",
"camera": "a person looking at a camera on a tripod",
"horse": "a black-and-white silhouette of a horse",
"coffee": "a cup of coffee on a saucer",
}
original_images = []
images = []
image_uris = [] # 存储图像 URI 的列表
texts = []
plt.figure(figsize=(16, 5))
# 循环显示和准备图像并组装 URI
for filename in [
filename
for filename in os.listdir(skimage.data_dir)
if filename.endswith(".png") or filename.endswith(".jpg")
]:
name = os.path.splitext(filename)[0]
if name not in descriptions:
continue
image_path = os.path.join(skimage.data_dir, filename)
image = Image.open(image_path).convert("RGB")
plt.subplot(2, 4, len(images) + 1)
plt.imshow(image)
plt.title(f"{filename}\n{descriptions[name]}")
plt.xticks([])
plt.yticks([])
original_images.append(image)
images.append(image) # 原始代码在这里进行预处理
texts.append(descriptions[name])
image_uris.append(image_path) # 将图像 URI 添加到列表中
plt.tight_layout()
# 实例化您的模型
clip_embd = OpenCLIPEmbeddings()
# 嵌入图像和文本
img_features = clip_embd.embed_image(image_uris)
text_features = clip_embd.embed_documents(["This is " + desc for desc in texts])
# 将列表转换为 numpy 数组以进行矩阵运算
img_features_np = np.array(img_features)
text_features_np = np.array(text_features)
# 计算相似度
similarity = np.matmul(text_features_np, img_features_np.T)
# 绘图
count = len(descriptions)
plt.figure(figsize=(20, 14))
plt.imshow(similarity, vmin=0.1, vmax=0.3)
# plt.colorbar()
plt.yticks(range(count), texts, fontsize=18)
plt.xticks([])
for i, image in enumerate(original_images):
    plt.imshow(image, extent=(i - 0.5, i + 0.5, -1.6, -0.6), origin="lower")
for x in range(similarity.shape[1]):
    for y in range(similarity.shape[0]):
        plt.text(x, y, f"{similarity[y, x]:.2f}", ha="center", va="center", size=12)
for side in ["left", "top", "right", "bottom"]:
    plt.gca().spines[side].set_visible(False)
plt.xlim([-0.5, count - 0.5])
plt.ylim([count + 0.5, -2])
plt.title("文本和图像特征之间的余弦相似度", size=20)
